OK, this will take a while as I'm going to have to edit photos and shit as I go and the complete job took me about five hours from whoa to go and I'm buggered so bear with me.
A couple of caveats.
It will contain mild profanity simply because that's how I am. If you can't take mild profanity stop reading now and go back to your knitting.
All the correct torque settings are listed in the manual. I've been pissing about with motorbikes for most of my life and I'm older than dirt. I didn't use a torque wrench on any of the components, I did it by 'Feel'. If you are uncertain mark nuts and bots so they can be done back up to the same place, (Typing correction fluid is good for this.)
This is, to most people, major surgery. Its not tremendously 'Difficult' but if you have trouble opening child proof pill bottles I don't suggest you attempt it.
Finally I accept no responsibility for your screw-ups. If you attempt this and break stuff its your bloody fault, not mine! OK?
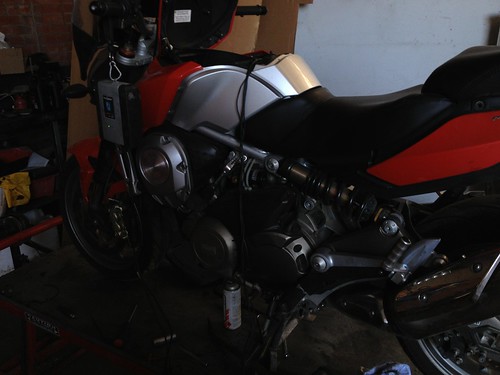
First step. Remove the left hand footrest plate.
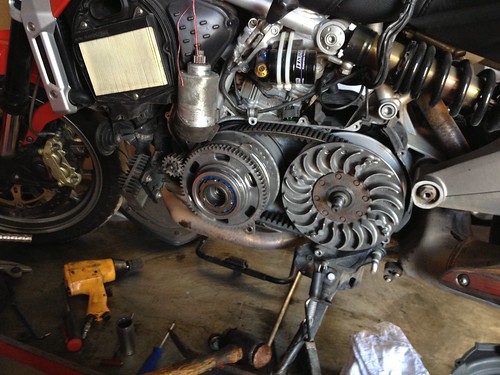
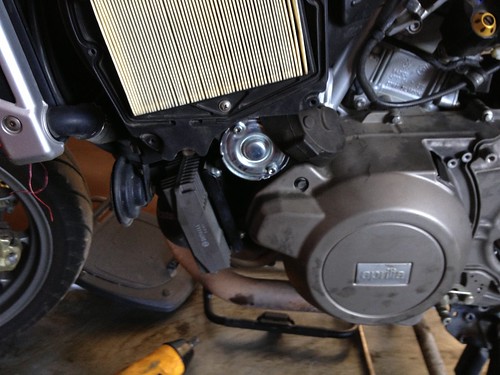
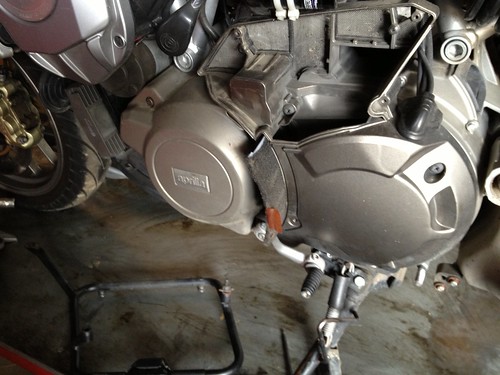
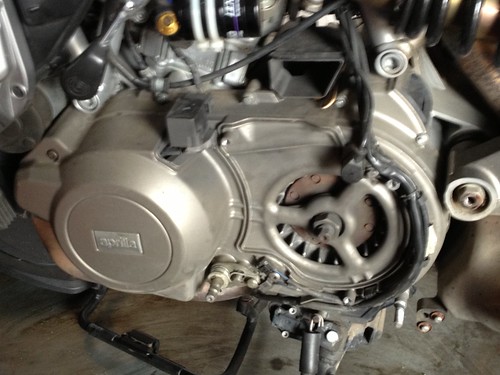
Next up remove the plastic outer cover from the back of the transmission case.before this note there is an air filter under the two plastic covers.
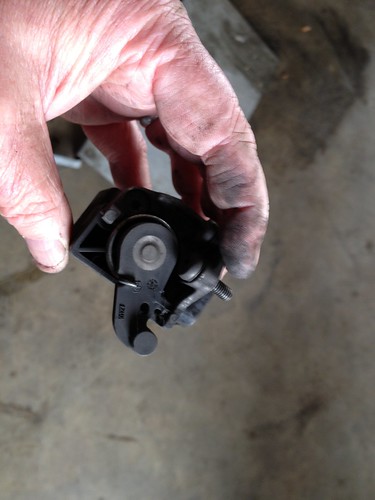
Next remove the sensors and all the wiring including the main feed to the starter motor which lives under the engine, the side stand switch, (Which has captive nuts in the plate that it bolts to, don't loose them.) and the wear potentiometer which can then be removed by taking out two screws.
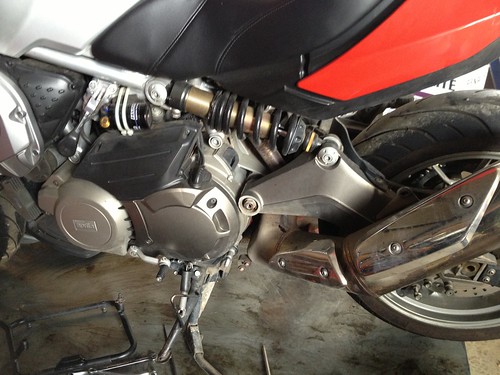
Take off the air filter cover.
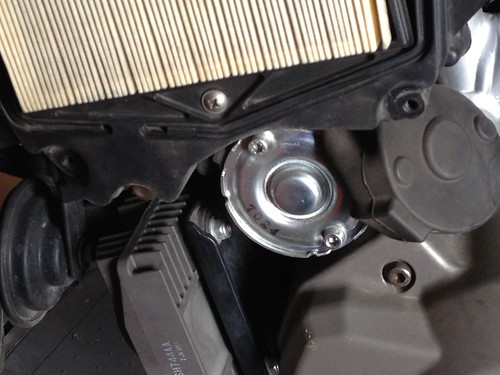
Pull the rubber boot off the E-CVT servo motor and undo the two bolts that hold it in place and pull it out of the case. Fuck-arseing, (A technical term.) may be required as it is sealed with an o-ring so it may be sticky. Use your brain. (Edit. No it isn't. I was thinking about another job. I'm easily confused. Having said that it can sometimes be tricky to get out if its gummed up with dust.)
I tied some twine around the motor spindle under the pinion and tied it up to a mirror to keep it out of the way otherwise it keeps falling down and getting in the way. Guess how I know this?
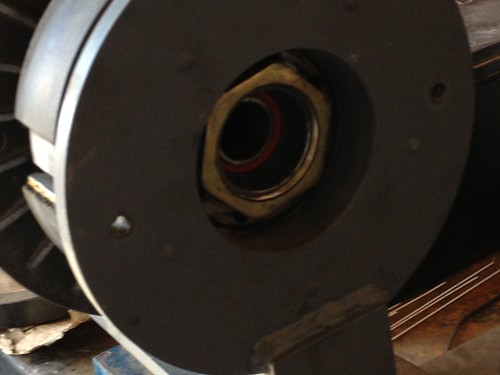
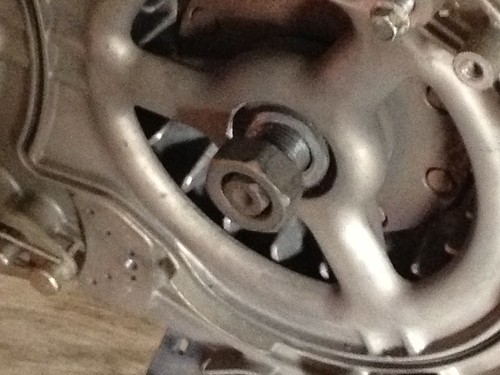
Use a rattle gun to undo the 27mm nut on the rear pulley shaft
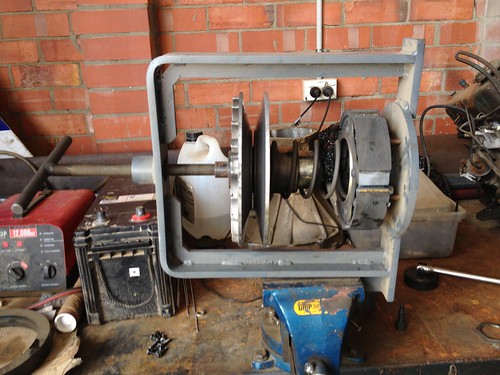
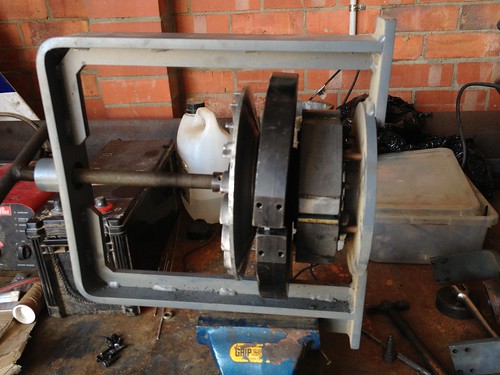
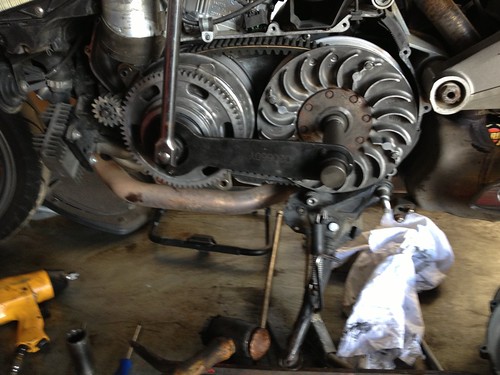
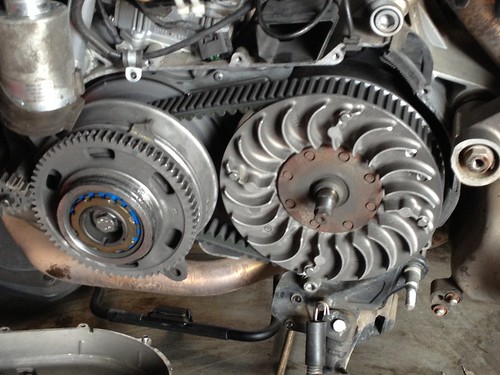
After which you need to pull the cover off after removing all the bolts that hold it on. This is possibly the biggest pain in the arse of the entire job as the o-rings on the end of the variator hub lock it on real tight.
Here is what I had to use!
Yeah, there are pry points but its still bloody brutal. The knack is sufficient force without using too much!
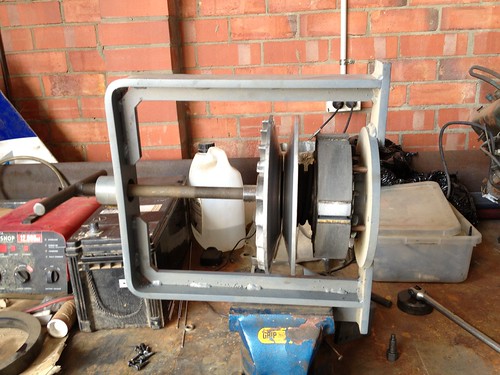
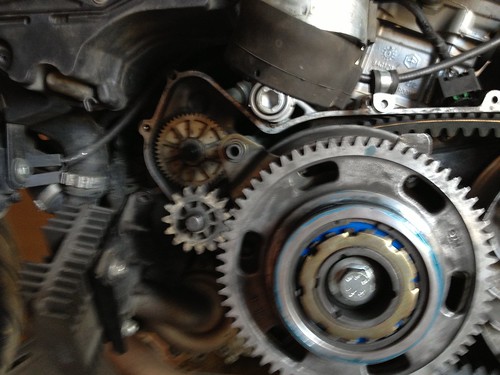
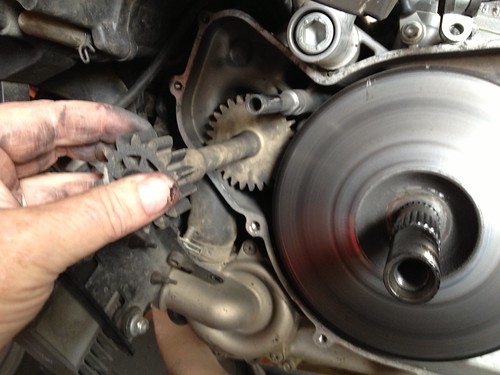
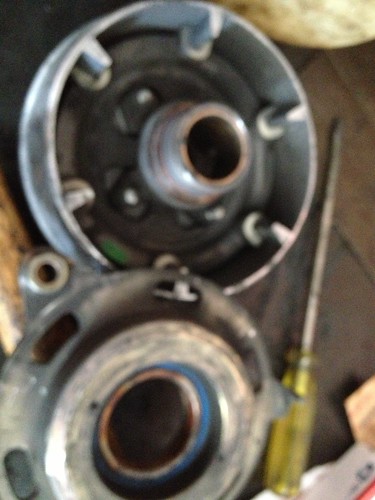
Once the case is off you can find that sometimes the E-CVT reduction gear will stay in the case. Sometimes it stays in the case.
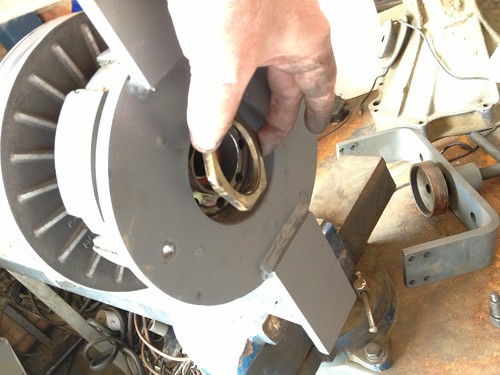
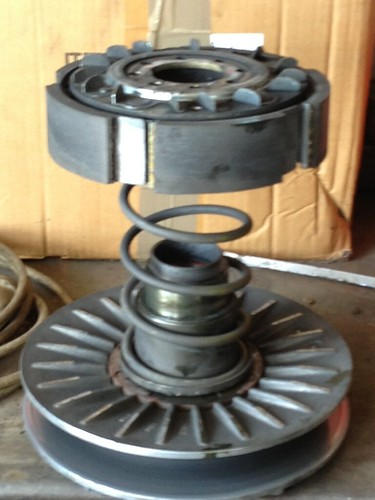
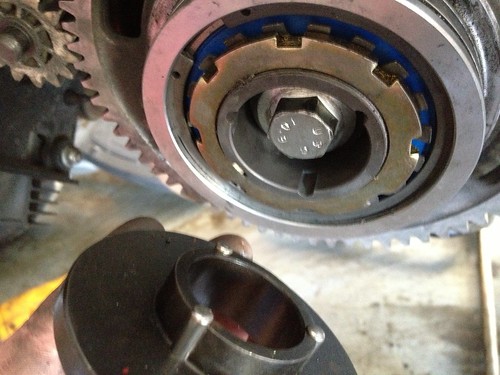
Then rattle off the variator hub nut.
Leaving the hub unsecured on the crankshaft.
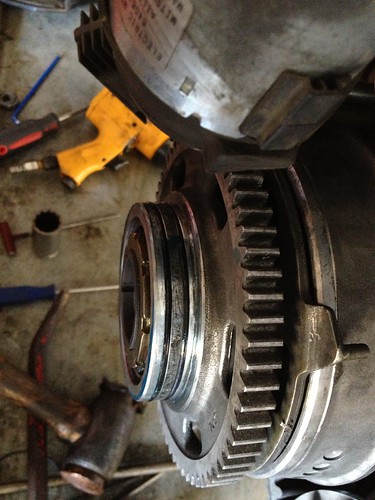
From whence it can be slid off.
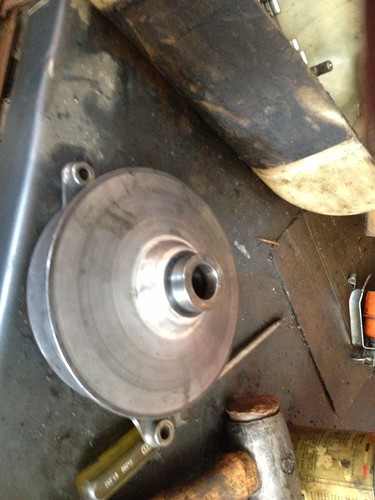
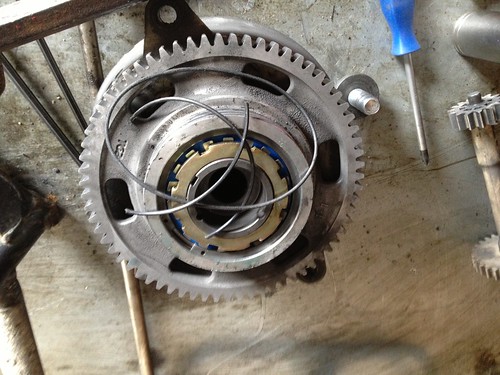
The inner pulley face can then be slid out on its splines to allow removal of the E-CVT intermediate shaft.
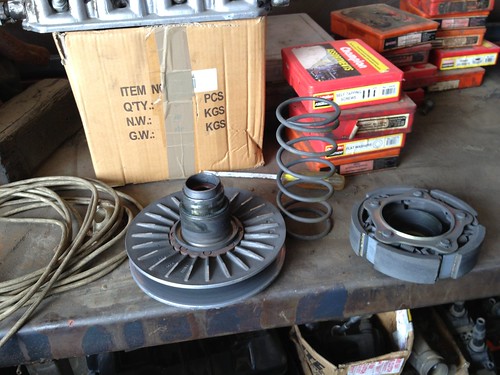
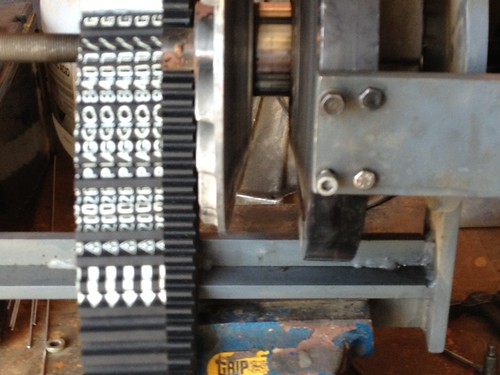
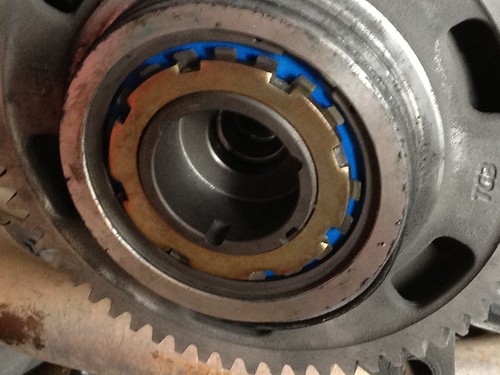
Note the shitty state of the o-rings. This is why you replace them every time the case comes off.
The inner front pulley face can now be removed exposing the entire drive cavity which needs a thorough clean.
More in a bit.


 Reply With Quote
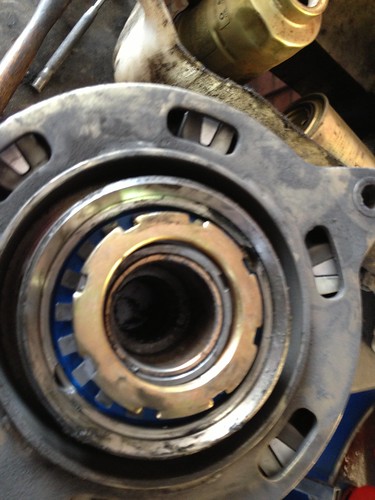

 .
.